Is Mountain Biking Hard For Beginners?
Mountain biking can be challenging for beginners due to a variety of factors such as:
- Technical Skills Required: Navigating through rough terrains requires balance, bike handling, and the ability to make quick decisions.
- Physical Demand: It is physically demanding and requires good cardiovascular fitness, strength, and endurance.
- Terrain: Beginners may find rocky paths, steep hills, and narrow trails intimidating.
- Equipment: Understanding how to use and maintain the bike and safety gear properly can be overwhelming at first.
However, beginners can progressively improve their skills and enjoy mountain biking with appropriate instruction, gradual training, and choosing the right trails.
Weight distribution
Whether you’re a beginner or an experienced mountain biker, learning how to distribute your weight properly is important.
A proper weight distribution allows you to clear obstacles more efficiently and safely.
Getting the proper weight distribution is also important when riding uphill and downhill.
You’ll need to practice the technique to distribute weight properly. Start by thinking about how much pressure you put on the pedals.
If you find this difficult, imagine your bike disappears mid-ride, and you fall on your hands.
By practicing this technique, you’ll quickly improve your bike riding technique.
You’ll be ready for the trail once you’re comfortable with the technique. Keeping your focus forward while riding on a mountain bike trail is important.
This way, you’ll be more likely to increase your speed. In addition to that, proper weight distribution will protect your body as you ride.
The proper mountain biking position for beginners means adjusting your stance to achieve balance.
Your seat height should be where your knee is closest to the ground. This will relax your back and help you turn the bike more smoothly.
You can also lower your chest to the handlebars if you want more control over your steering and prevent you from falling off.
Besides being neutral, your shoulders and hips should be positioned over the stem to avoid unbalanced weight distribution.
This will help keep you stable and avoid a ‘back seat’ in corners.
Weight distribution in mountain biking is crucial for maintaining balance and control.
Here’s how to manage it:
- Uphill Riding: Lean forward to keep the front wheel on the ground for better traction and steering control.
- Downhill Riding: Shift your weight back to prevent going over the handlebars and to keep the rear wheel grounded.
- Cornering: Lean the bike into the turn while keeping your body weight over the outside pedal to maintain traction.
- Technical Terrain: Move your weight dynamically to respond to the trail; stay loose to allow the bike to move beneath you.
- Jumps and Drops: Center your weight and then shift accordingly when landing to absorb the impact with your legs.
Practicing these techniques will help a beginner navigate trails more effectively.

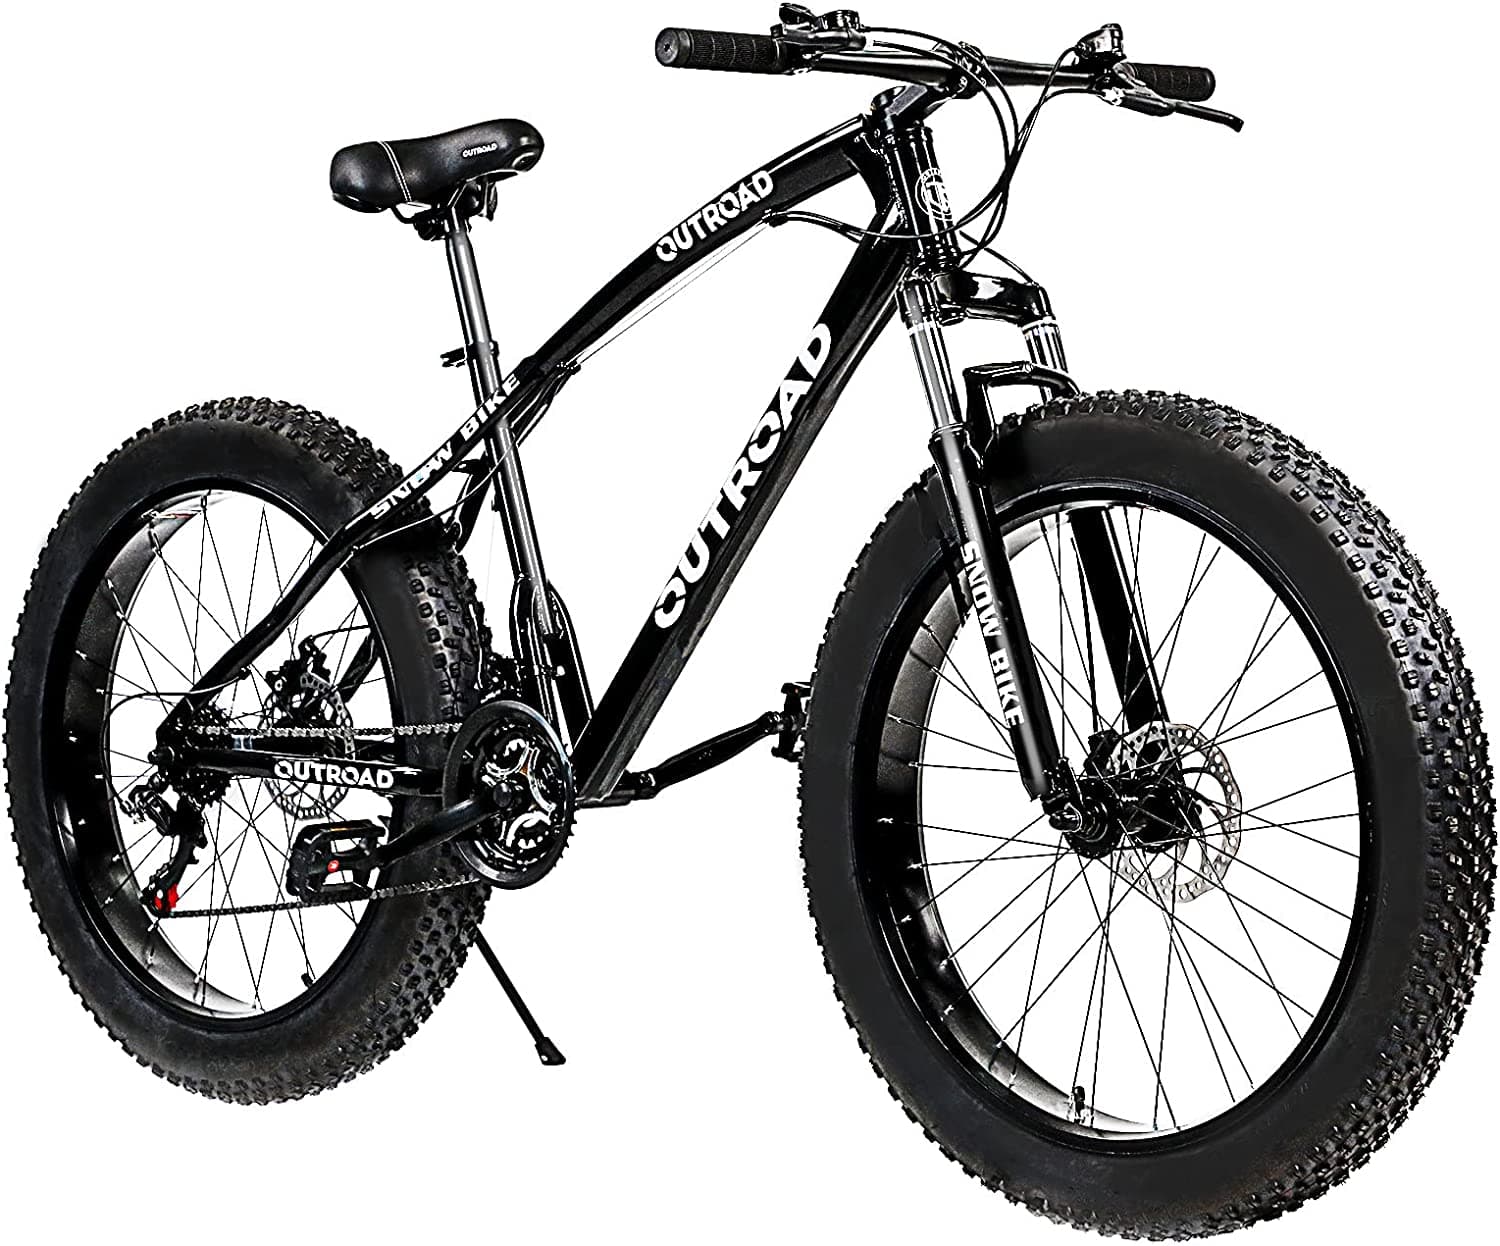
- Hardtail mountain bike for a high-performance ride on rugged trails, 27.5-inch wheels with a medium frame fit riders 67 to 70 inches tall
- Lightweight aluminum frame features internal cable routing for a sleek look, 141 mm rear hub spacing creates a more stable and rigid hardtail
- 100 mm travel fork helps to absorb bumps in the trail
- 12-speed drivetrain with trigger shifters provides smooth gear changes
- Hydraulic disc brakes deliver superior all-weather stopping power
Last update on 2026-06-22 / Affiliate links / Images from Amazon Product Advertising API
Technical Skills Required
Technical skills required for mountain biking include:
- Bike Handling: Maneuvering the bike over obstacles, through tight turns, and down steep descents.
- Braking: Knowing when and how much to brake to maintain control without skidding.
- Gear Shifting: Using gears efficiently to manage different terrains and slopes.
- Climbing: Maintaining momentum and traction on uphill sections.
- Descending: Controlling speed and direction on downhill trails.
- Cornering: Properly approaching, entering, and exiting turns.
- Jumping: Managing takeoff and landing when encountering jumps on the trail.
- Drop-offs: Safely navigating drop-offs by controlling speed and body position.
- Trail Reading: Anticipating obstacles and choosing the best line through technical sections.
Mastering these skills can take time and practice but are essential for safe and enjoyable mountain biking.
Mountain biking terrain varies and can include:
- Singletrack: Narrow trails, typically enough for one rider at a time, with potential obstacles such as roots and rocks.
- Doubletrack: Wider trails that can fit two riders side by side, usually less technical than singletrack.
- Fire Roads: Wide dirt or gravel roads that are often steeper and used for access by fire crews; easier for beginners.
- Technical Trails: Trails with numerous obstacles like rocks, roots, and steep sections; require advanced skills.
- Downhill Courses: Steep descents with jumps, drops, and other features designed for downhill riding.
- Cross Country (XC) Trails: These trails involve a mix of climbing, descending, and flat terrain over long distances.
- Pump Tracks: Circuits with rollers and berms designed to be ridden by “pumping” the bike rather than pedaling.
- Freeride Terrain: Features natural and man-made obstacles, including jumps, drops, and stunts.
Choosing the right terrain for skill level is important for safety and progression in mountain biking.
No products found.
Cornering skills
To improve cornering skills in mountain biking, consider the following techniques:
- Body Position: Keep your body low and lean the bike beneath you, not your body into the turn.
- Vision: Look ahead through the turn to where you want to go, not directly in front of your wheel.
- Braking: Complete most braking before entering the corner, not during.
- Weight Distribution: Weight the outside pedal and press your inside hand into the handlebar to maintain traction.
- Bike Lean: Lean the bike more than your body to keep a lower center of gravity and improve grip.
- Entry Speed: Enter the corner at a manageable speed that you can maintain throughout the turn.
- Apex: Aim for the apex of the turn to straighten out the corner as much as possible for faster exit speed.
- Exit: As you exit the corner, begin to straighten the bike and look to the next section of trail.
Practicing these techniques will lead to more efficient and controlled cornering.
Cornering is an art form that takes years to perfect, and a beginner should always practice carefully.
Remember to brake before the corner because you’ll lose traction if you do it during the turn. You should also set your stance so that your outside foot is at six o’clock and your inside foot is at twelve.
Your hips and shoulders should also be aligned with your traveling direction.
Lastly, leaning into a corner will help you keep your balance and grip.
Once you’ve learned to practice cornering, you’ll feel more comfortable on the bike and confident on the trail.
Cornering is one of the most challenging parts of mountain biking.
Perfecting your technique will help you have an easier time riding the trails, and learning to control your speed before a corner is essential for mountain biking success. It will also help you avoid crashes.
A strong stance is essential for riding your mountain bike.
Mountain Biking Gear To Get You Started
To get started with mountain biking, you’ll need the following essential gear:
- Mountain Bike: Choose one that fits your size and is suitable for the riding you’ll be doing (cross-country, trail, all-mountain, etc.).
- Helmet: A properly fitting mountain bike helmet is crucial for head protection.
- Gloves: Full-finger gloves protect your hands and improve grip.
- Cycling Shorts: Padded shorts or liners can increase comfort on long rides.
- Hydration Pack or Water Bottle: Staying hydrated is essential; a hydration pack also allows you to carry essentials.
- Repair Kit: Includes a spare tube, tire levers, a multi-tool, and a pump or CO2 inflator.
- Eye Protection: Glasses or goggles to protect your eyes from debris and sunlight.
- Appropriate Footwear: Sturdy, comfortable shoes with good grip, compatible with your bike’s pedals.
- Clothing: Moisture-wicking and breathable fabrics are best for comfort and temperature regulation.
Optional but recommended gear can include body armor, knee and elbow pads, a GPS device or app for navigation, and a biking computer to track your ride data.
How To Find Beginner-Friendly Trails
To find beginner-friendly mountain biking trails, you can:
- Local Bike Shops: Visit and ask for recommendations on beginner trails.
- Online Resources: Websites like Trailforks or MTB Project provide trail maps and difficulty ratings.
- Social Media and Forums: Join local riding groups or forums to get insights from experienced riders.
- Apps: Use trail-finding apps that offer user reviews and trail conditions.
- Books and Maps: Look for guidebooks or maps of local trail systems.
- Park Rangers: Contact local parks with biking trails for suggestions.
- Mountain Bike Clubs: Join a local club that offers group rides and beginner outings.
Always check the trail conditions and rules before heading out.
How To Prepare For Your First Ride
To prepare for your first mountain bike ride, take the following steps:
- Bike Check: Ensure your bike is in good working order – check brakes, gears, tire pressure, and suspension.
- Gear Up: Gather all necessary gear, including helmet, gloves, water, and repair kit.
- Dress Appropriately: Wear appropriate clothing for the weather and padded cycling shorts for comfort.
- Hydration and Nutrition: Bring enough water and snacks for the ride’s duration.
- Plan Your Route: Choose a beginner-friendly trail and familiarize yourself with its layout and features.
- Weather Check: Look at the weather forecast and prepare accordingly.
- Safety Brief: Understand basic trail etiquette and safety tips.
- Physical Prep: Do light stretching or warm-ups to prepare your muscles.
- Emergency Info: Bring identification, and a phone, and tell someone where you’re going.
Ensure you start with a trail matching your fitness level and skill.

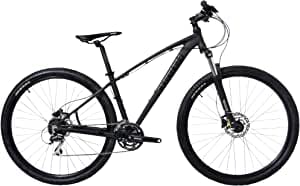
- Enhance comfort and performance with the 18-inch aluminum suspension frame, while the 29-inch wheels fit riders 5’4″ to 6’2″ tall
- Element suspension fork smooths the bumps and increases control
- Effortlessly switch gears with the 21-speed rear derailleur equipped with SRAM twist shifters
- Alloy wheels with quick-release front, Superior braking performance of the alloy front and rear disc brakes, reliable stopping power for enhanced safety and control
- Assembly Tip: Ensure wheel is as centered between the fork legs, if quick-release lever closes easily, open and tighten the adjustment nut further, if difficult to close, open the quick-release lever, loosen the adjustment nut a little, and try again
Last update on 2026-06-22 / Affiliate links / Images from Amazon Product Advertising API
How To Transport Your Bike To The Trailhead
To transport your bike to the trailhead, you can use:
- Bike Rack: Invest in a quality bike rack that fits your vehicle, such as hitch-mounted, trunk-mounted, or roof-mounted racks.
- Tailgate Pad: For pickup trucks, a tailgate pad can protect both the truck and bikes when transporting.
- Inside the Vehicle: If you have enough space, you can put your bike inside your car. You may need to fold down seats and remove the bike’s front wheel.
- Securing the Bike: Ensure the bike is secure and doesn’t move around during transport to prevent damage.
- Protection: Use padding or bike covers to protect against scratches and dirt.
Always double-check that your bike is properly secured before driving.
Tips For Improving Your Skills And Confidence
To improve your mountain biking skills and confidence:
- Start Small: Begin with easy trails and gradually progress to more challenging terrain.
- Skills Clinics: Attend a mountain biking clinic or lesson for professional coaching.
- Practice Regularly: Consistency is key to improvement, so ride regularly.
- Ride With Others: Join group rides to learn from more experienced riders.
- Focus on Technique: Work on specific skills like cornering, braking, and climbing.
- Set Achievable Goals: Set small, attainable goals to build confidence as you achieve them.
- Stay Relaxed: Stay relaxed on the bike to better absorb bumps and maintain control.
- Visualize Success: Visualize riding through difficult sections successfully.
- Stay Positive: Maintain a positive attitude, and don’t be too hard on yourself when things don’t go as planned.
- Reflect on Rides: After each ride, reflect on what went well and what could be improved.
Remember, progress takes time and patience.
Mistakes to avoid
One of beginner mountain bikers’ most common mistakes is holding on too tight. This can lead to a higher risk of crashing because you cannot see any obstacles in time.
It is important to relax your grip to improve control.
It is also good practice to look 15-20 feet ahead when riding.
Another mistake beginners make is riding in a forward position.
This is not only unsafe, but it also slows down reaction time. Always keep your feet level with the pedals, bend your knees and elbows, and look ahead to avoid injury.
This will also prevent you from being distracted by other obstacles.
Another mistake beginners make is not paying attention to the condition of their bikes. They may be eager to try out new trails, but they should check their bike for any problems.
A flat saddle is a good starting position for new mountain bikers.
The angle of the brake levers will improve comfort and control.
One of the most common mistakes beginners make is not taking enough water and food.
Many beginners forget to pack snacks and water in their backpacks, leaving them starving and thirsty after an hour.
A snack or water is important to prevent fatigue and hunger, as these things can cause you to slow down or walk back.
Final Thoughts
When beginning mountain biking, embrace the learning curve and enjoy the journey.
Stay patient, practice consistently, and ride within your limits.
As you build skills and confidence, you’ll find that mountain biking can be an incredibly rewarding and fun way to explore the outdoors and stay fit.
Keep it fun, stay safe, and happy riding!